|
We’re excited to partner with Oyster to offer you affordable bike/e-bike insurance designed for California Bike & Snowboard riders. You can add insurance with a few clicks at any time to cover theft, damage, injury, and more.
CLICK HERE TO GET YOUR PERSONAL QUOTE CLICK HERE if you want to learn more or see if bike insurance is a good fit for you. Base Coverage
CLICK HERE TO GET YOUR PERSONAL QUOTE
1 Comment
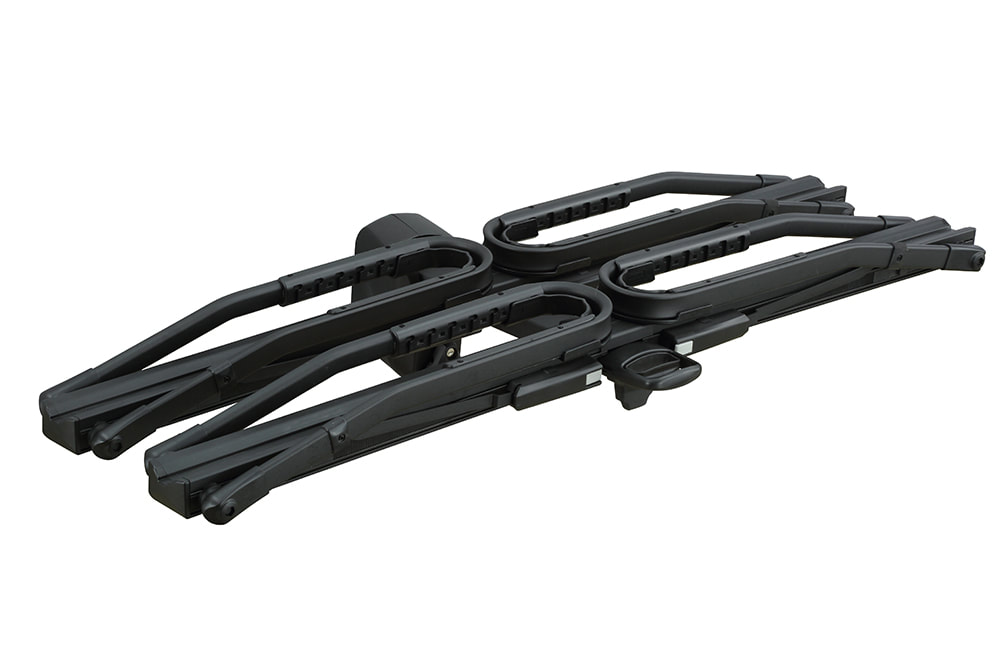
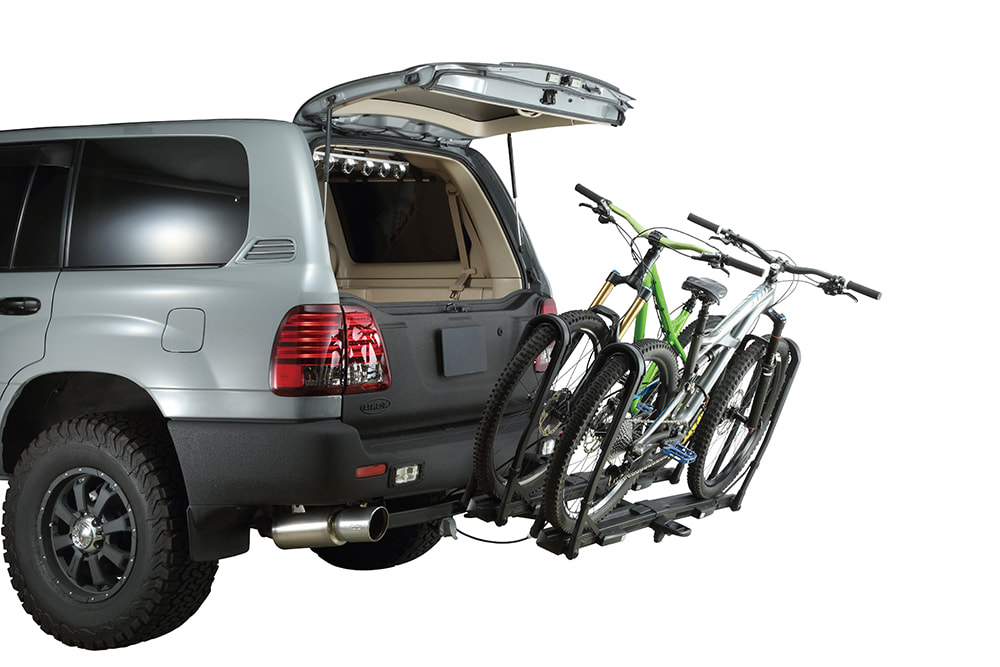
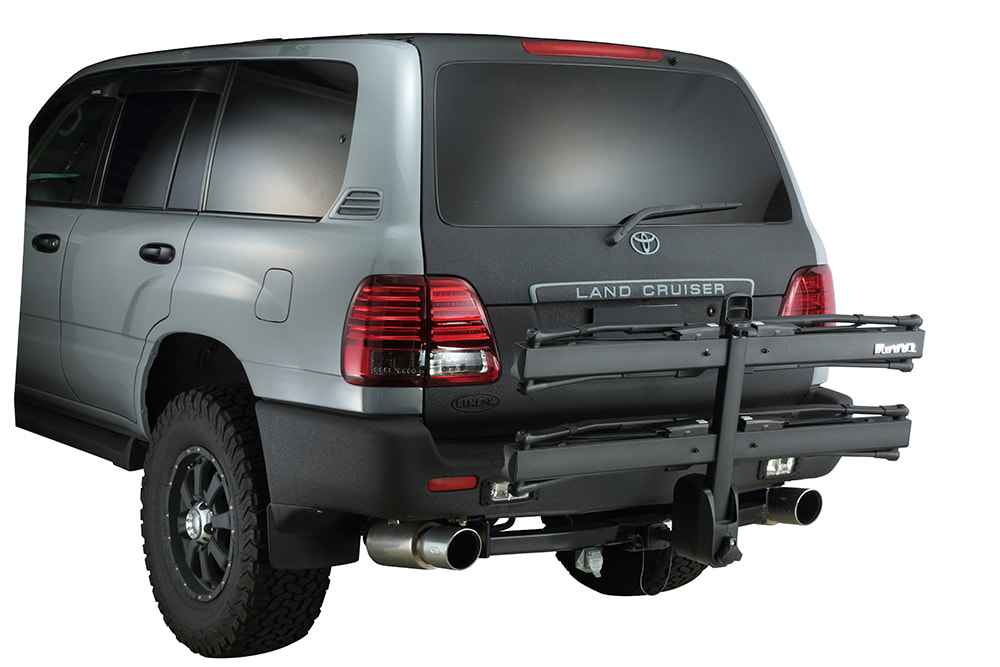
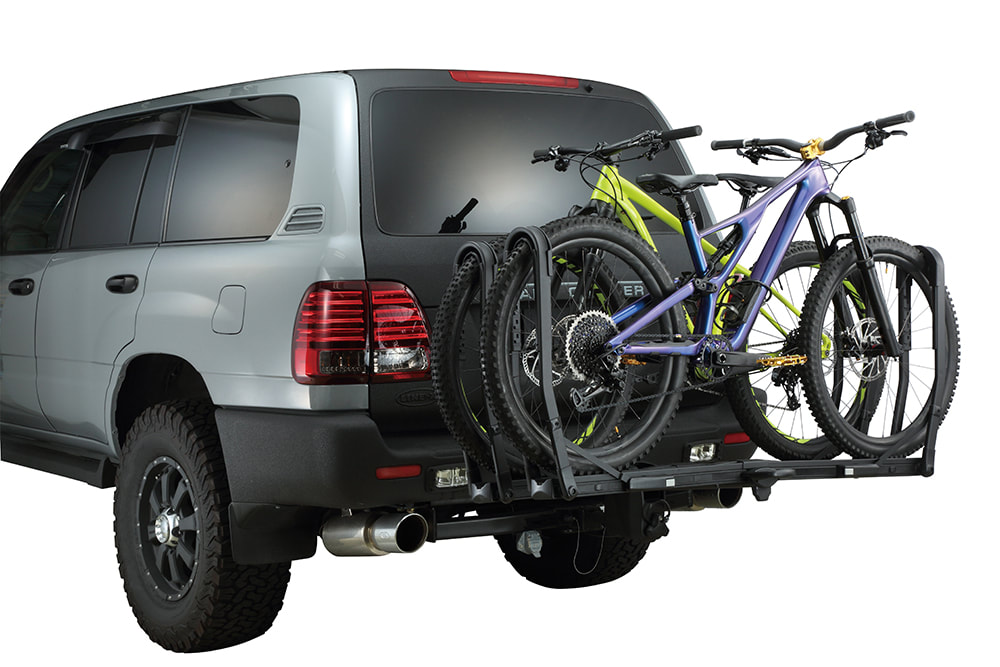
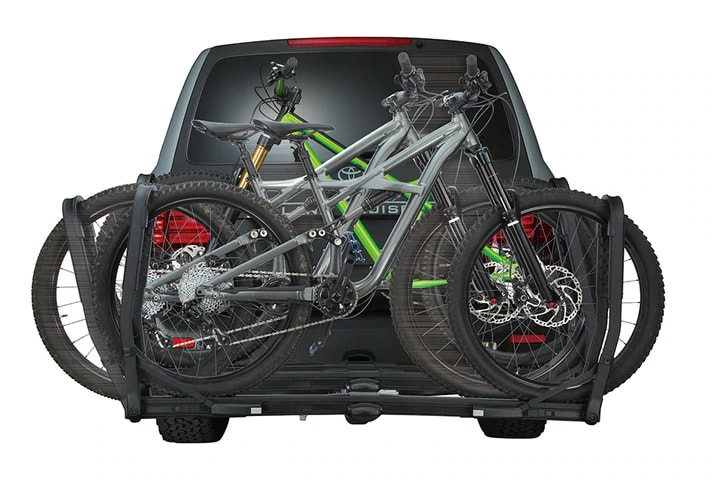
We just received in the Inno INH120 Tire Hold Bike Hitch 2. A great rack system to transport your bikes in style.
Take a closer look at the INH120 rack HERE. Give us a call and let us know what Inno racks you are looking for. More Inno products to come. Found a great informative Blog from Aventon eBikes who we are a dealer for. It's intended for Aventon eBike owners, but offers good general information for all eBike owners. Check out California Bike & Snowboard eBike selection and availability at our online store.
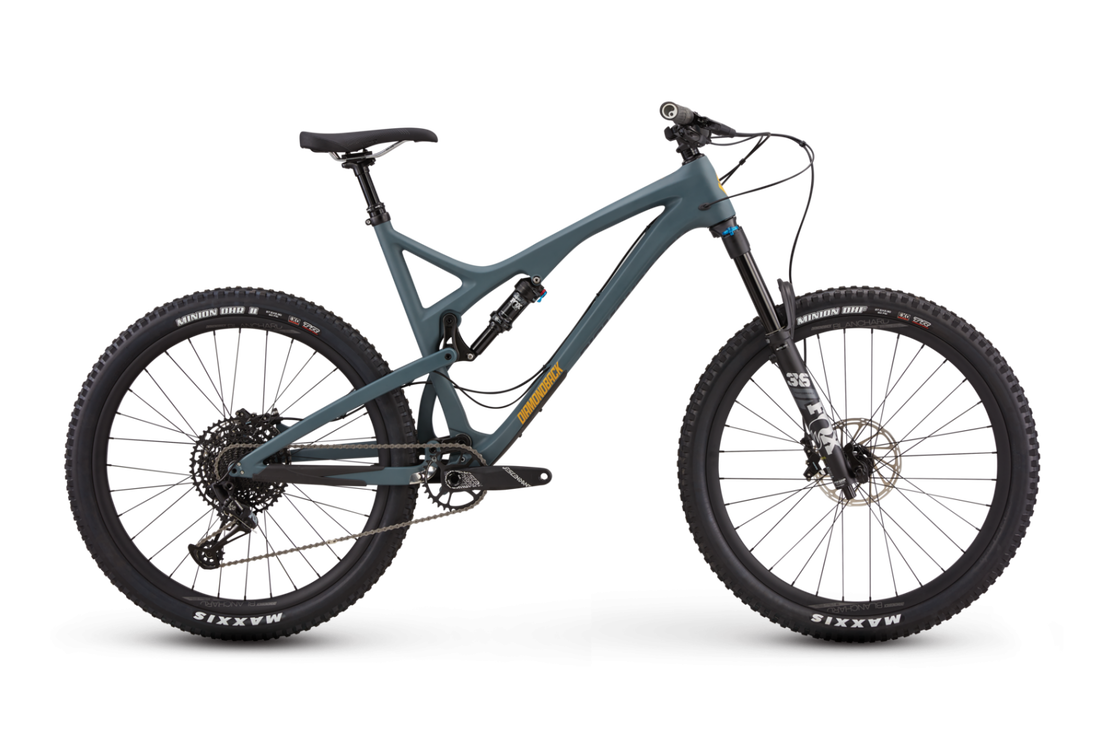
E-Bike Storage and Use During the Winter Winter is fast approaching and you may be wondering what to do about your electric bike storage over the winter. Maybe you want to continue your newfound and fun form of exercise, and are wondering if you can ride an ebike during the brisker, wetter months of the year. Or maybe you're wondering about e-bike storage for such an extended period of time. Here at Aventon we’ve got you covered in both scenarios, with all the tips, tricks, and easy e-bike storage solutions you need to feel confident about riding and storing your ebike and any additional parts through the winter months. Storing Your Electric bike For The Winter E-bike storage either during or for the winter means that you’re going to be storing it for a prolonged period; not just 4—5 days like you usually might. Winter also brings the threat of extreme conditions, prolonged rain or snow, and extremely low temperatures. These factors all need to be taken into account when considering e-bike winter storage. Here’re some best practices regarding e-bike storage during the winter: Clean before storing Your ebike, just like your car, requires maintenance and should be cleaned regularly. Aventon ebikes are IPX4 water resistant, meaning that water splashing from any direction will not harm them. This means that you can clean your bike with a bucket and sponge, but should avoid using pressurized water, such as a garden hose jet or pressure washer to wash the bike down, but a “rain-like” sprinkle from a garden hose would be fine. You should clean all of the dirt off your ebike's frame and then wipe it down with a dry cloth. Make sure to check that the battery contacts are clean and dry so as to prevent corrosion. Afterwards, lube the chain to protect it and turn the pedal to rotate the chain to ensure that the lube circulates around the system. How to Store your EBike Electrical devices and components in e-bikes are sensitive to extreme temperatures. Ideally, your ebike should be stored in a cool, dry space, away from high humidity; think a garage or, depending on where you live, an outdoor shed. The ideal e-bike storage temperature is between 32º and 68º, between freezing and room temperature. Ebikes can be stored down to -22º, however the electronic elements of your ebike don’t like such temperatures for prolonged periods so we wouldn’t recommend pushing it that far. Storing your Ebike Battery The best way to store e-bike accessories like batteries is by removing them from your ebike. Batteries are the beating heart of your ebike and, much like a human heart, they’re the most sensitive part of the whole. Over time all batteries lose capacity, that is to say, they lose the amount of charge they can hold. Taking proper care of your battery protects its charge capacity and, therefore, maximizes its longevity. Batteries should be stored in a cool, dry place where they won’t freeze; a wood surface in the garage is recommended. However, if you live somewhere extremely cold i.e. below freezing, creeps in then bring your battery inside and tuck it away somewhere safe. Batteries are best stored close to room temperature, 50º-77º, and can handle extreme temperatures in either direction; but only for a short amount of time before the temperature begins to affect their chemistry and damage the battery. There are a variety of different types of batteries. The battery used to power your Aventon ebike is a lithium ion battery. Lithium ion batteries should never be stored with their charge level completely depleted, as doing so means that they might be unrecoverable after storage. Your battery should be stored at a 75%-80% charge level. Check the charge level on a monthly basis and make sure that the percentage does not drop under 75%. This will help extend your battery's life. Also, Aventon batteries should not be stored on their charger nor attached to your ebike. So, when you’re putting your battery down for winter storage make sure that it is charged within the range of 75%-80%, that it is off the charger, and that it is somewhere cool -but not cold- and dry. After Winter Storage It is important after storing your ebike that you get it ready for the new biking season. The best and most convenient way to do this is to take it to your local bike shop for a tune up. Here they’ll check to make sure that your brake and gear lines are taut and all working as they should be. They check brake pads, chain lube, gear shifting, and other items so that you have a safe and perfectly functioning bike when you get back into the saddle. After your tune up, take your bike out for a short test ride to make sure everything is functioning properly. Check the brakes, the gears and ensure that everything is how you like it. If you find anything wrong just head back to the bike shop where they’ll be happy to put things right for you. Using Your Ebike During The Winter As previously mentioned, Aventon ebikes are IPX4 resistant, and that means that it's fine to ride them in the rain or through puddles! So if you’re thinking about continuing to use your ebike to commute during the winter then go right ahead! You may not commute on your ebike and are thinking that you’ll put it away for winter in its entirety, but a day, a weekend, or a week may arise where you find that you want to get out and go for a ride. Here you’re totally allowed to wake your ebike from its slumber! Just make sure that you fully charge the battery and take your bike for a short test ride, either on your driveway or down a quiet street, so as to test the brakes and gears before you set off on a longer, more adventurous trip. With all of that said, there are a few things to take into consideration when it comes to riding during the winter months. Only ride in safe Weather Conditions Most importantly, only use your ebike if you’re absolutely sure you can ride it under the prevailing conditions. Your safety is paramount and, even if you’ve taken all the precautions which follow here, there’re some days where you might want to consider commuting using an alternate method or giving your weekly ride a miss. Braking Is Different The heavier an object and the faster it travels the longer -or more friction- it takes to stop, these are the laws of physics. Ebikes tend to be heavier than regular bikes and they travel faster so, naturally, they take longer to stop. Meaning that you need to brake sooner especially in slippery conditions. When there is water on the road this reduces friction even further, thus increasing your stopping distance, meaning that you need to brake even sooner in the rain or whenever there is water on the road. Keep an Eye on the Temperature Ebikes can be operated below freezing, and even down to 0º degrees, but this is not ideal. Electronics are sensitive and even though they can operate down to this temperature it doesn’t mean they should. Below 32º electronics don’t operate at their optimum level and once you drop to 32º and lower, batteries begin to lose their charge even quicker, resulting in a drop-in mileage. If an ebike gets too cold you can kill the battery cells and then you’re without your battery until you get home and may even need to order a replacement. A good rule is: If it’s too cold for you then it’s more than likely too cold for your battery too! Layer Up As mentioned in our previous post, Tips for Ebike Commuting, make sure that you have many thin layers which you can shed and put on as needed; as opposed to a few thick, bulky layers. In the winter this is much more important and it is also a good idea to have a warm base layer in the mix. A rain jacket is always necessary and your top layer should always be a bright color so you’re highly visible, this is even more important in the winter when conditions are often a little on the worse side. Improve Visibility with Headlights The winter days are much shorter and you don’t want to get caught out in the dark. Proper planning can prevent this but for safety purposes make sure that you have front and rear lights on your ebike; not only so that you can see where you’re going but so that others can see you too. Stay Seen with Reflectors Reflectors are there to reflect the lights of other vehicles to let them know you’re there. They won’t replace lights but they’re an excellent tool for bringing your presence to the attention of others. The ones which fit between the spokes of your wheels are especially when crossing side roads. Reflectors don’t just have to be on your bike. You can buy fluorescent and reflective clothing -all the way from socks to hats!- and reflective stickers too. All of this ensures your safety by making sure that you are highly visible to everyone around you. Wear a Helmet, Obviously It goes without saying that you should always ride with a helmet; especially once the conditions start to get worse and the light begins to fade quicker. Knee & Elbow Pads Some riders wear pads year-round, others opt for them during wintertime and in the presence of tricky conditions. Water can make roads and trails slick and slippery, and ice can be a big danger during winter. As many drivers know, black ice is one of the greatest dangers found on the road. Protect your joints with a set of knee and elbow pads. They’re comfortable and stylish! Check Your Tires In adverse conditions, your ebike needs to be the best it can be. Your tires are your contact with the ground so it is important that they’re in top condition. The tread on your ebike tires will wear, just like those on your car. Check your tires periodically throughout the year and especially during the winter. Protect you & your bike with Fenders Fenders are a good idea to have on your ebike in general but if you don’t have them you’re going to want them for wintertime riding. Fenders will protect you, your clothes, your bike, and your battery from dirt and debris kicked up by your tries. Not only do they provide this protection but not having this material flying up toward you makes for a much more comfortable ride. Keep your ebike clean It is an excellent practice to clean your ebike after every use. This becomes even more significant on rainy days where your bike is more likely to have gotten wet and dirty. Simply wiping your ebike down after each trip can prolong its life and ensure that it stays free from rust. When doing this make sure to dry wipe the contacts where the battery connects to the bike, ensuring this integral part of your ebike stays in optimal condition. Properly storing and taking good care of your ebike is a common sense practice that every rider should undertake. If you do this then you will get enjoyment out of your investment for years to come! Don’t be afraid to take your ebike out of storage for a nice weekend and then put it back, just follow the tips above for storing your ebike each time you do so and you’ll be ready to go! More importantly, make sure you take any necessary safety precautions to keep you safe whilst you’re out having fun on the road or the trail. New to our line-up and Available Now! The Release 4C features the same bottomless-feeling rear suspension and deft handling as our aluminum Release models, but with an even lighter, stiffer chassis built from carbon fiber. It starts with our Level Link suspension system, which isolates chain forces from trail inputs, meaning the suspension doesn’t bob when you stomp on the pedals, yet becomes extremely plush on technical descents. For smooth bump-eating performance, the Release 4C is equipped with a Fox Float DPS EVOL LV rear shock and a 150mm travel Fox 36 Performance Float fork. SRAM’s NX Eagle 12-speed single-ring drivetrain provides consistent shifting and, thanks to its 50-tooth granny gear, makes short work of pesky climbs. SRAM G2 R brakes keep you slicing through the most technical lines all day long.
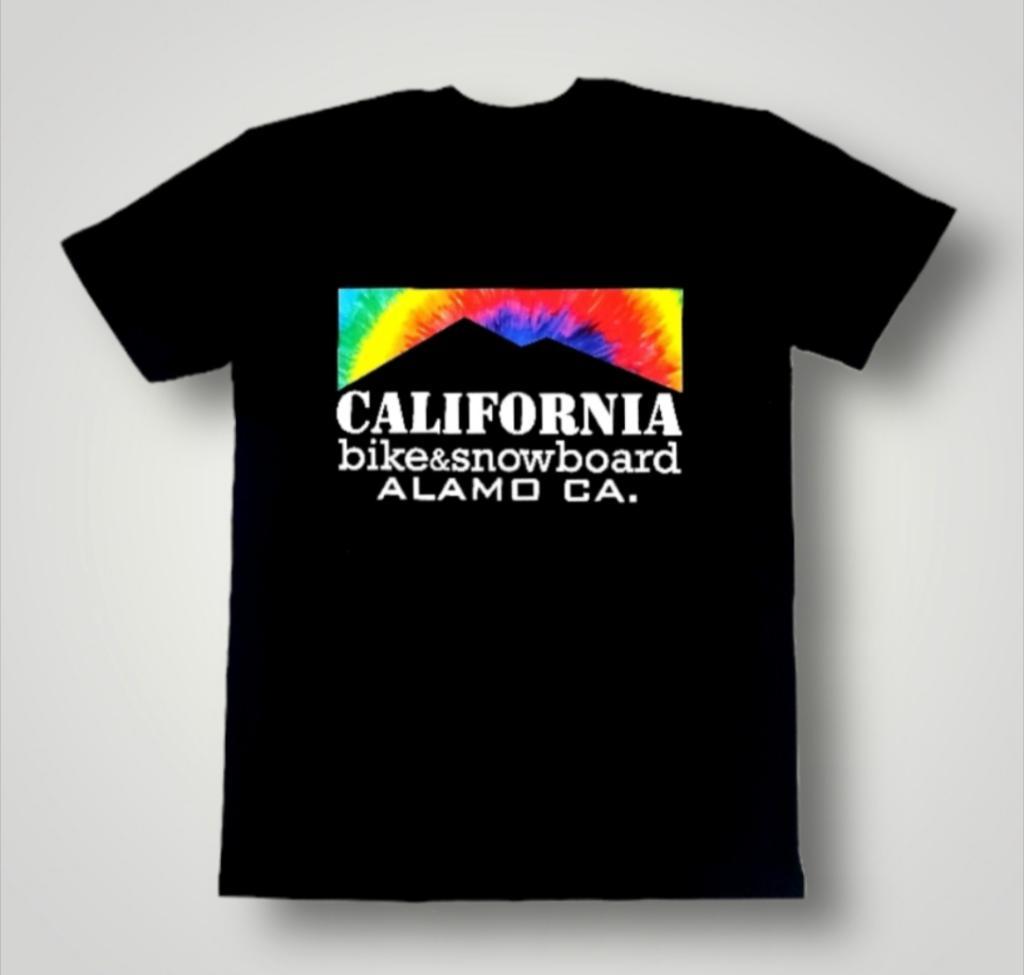
Limited run on these Tie Dye Edition CBS t-shirts. Available now in adult and youth sizes. Pick them up in-store or on our online web-store before they're sold out.
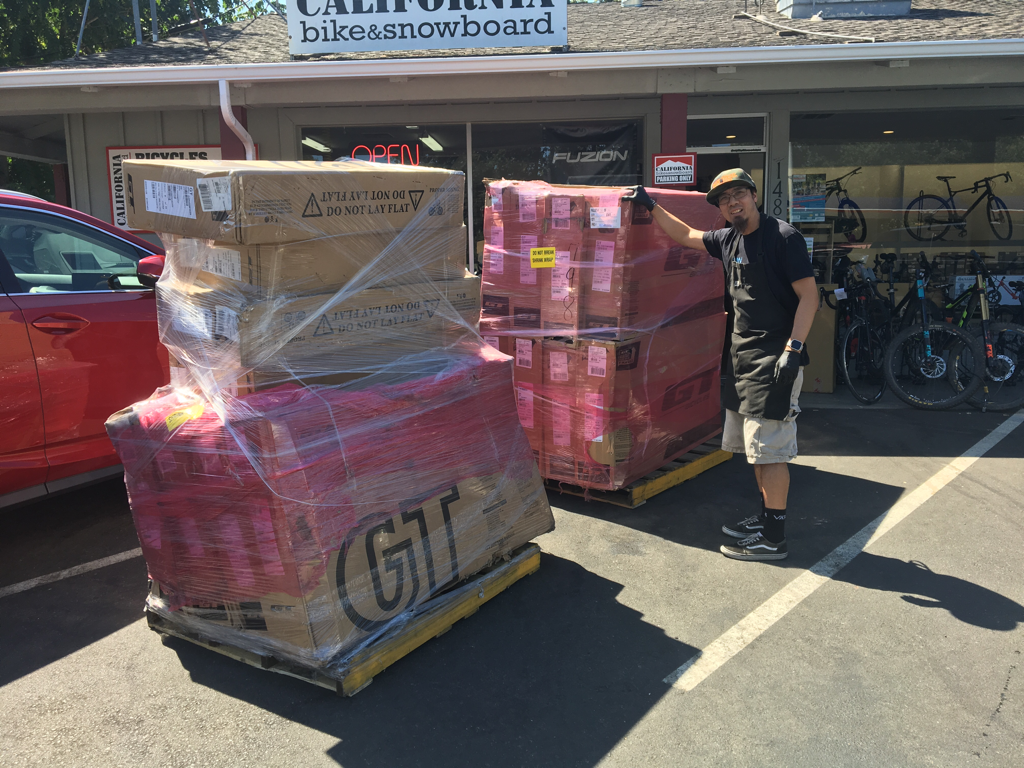
CLICK HERE to shop the youth shirts. Online store: www.californiabikeandsnowboard.com Planning or thinking about buying a new bike? Well now’s the time! We just received a huge amount of 2019 bikes which are all on sale. All remaining 2019 in-store and special order models will have 15% taken off the regular price. Our closeout sale will apply to all brands that we offer.
We are very excited to add GT Bicycles to our line of products available at California Bike & Snowboard. Who's GT, "We are GT...From our Southern California beginnings in 1972 to today, we continue to remain true to our BMX and mountain bike heritage. GT mixes performance with serious fun to deliver good times everywhere our bikes are ridden. Because after all, Fun is Serious Business." GT's lineup includes: Mountain full-suspension, mountain hardtail, dirt-jumper, BMX, city, women, kids. Come on into the shop to check out GT and take them out on a test ride!
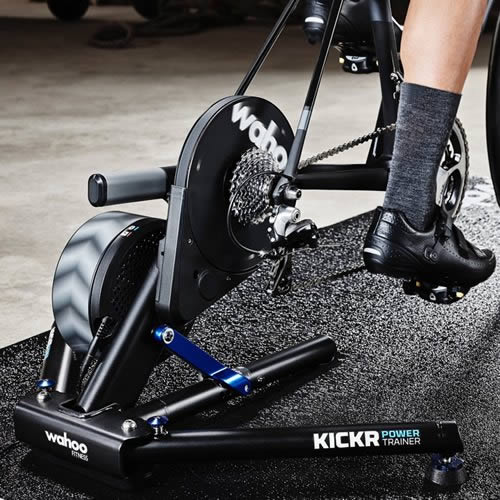
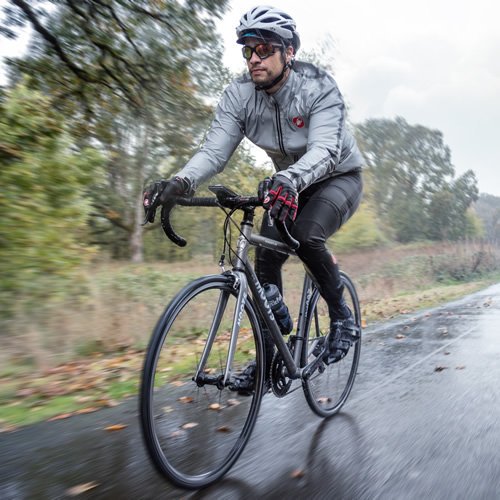
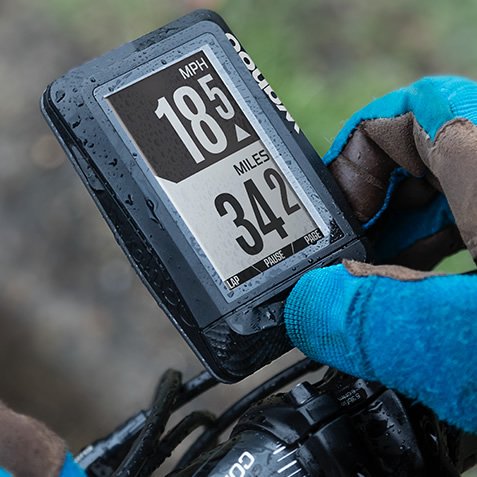
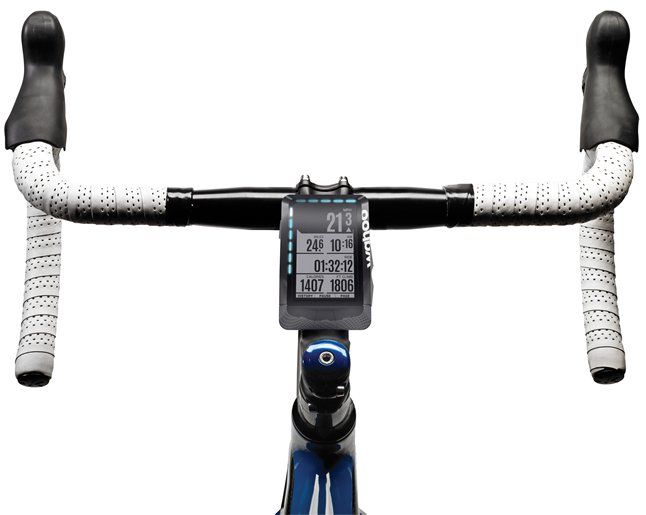
We're happy to announce that we've added Wahoo Fitness products to our line-up at California Bike & Snowboard. Catering to the training athlete in an array of products including bike trainers, bike computers, heart rate monitors, and cycling sensors.
INTRO:
What up everyone! So this story started when I was on YouTube watching videos about polishing up bicycle parts and by chance came upon a video showing off this shiny Cannondale road bike and I was really inspired, so I searched for more and found this random frame, as well as this old school Redline BMX. So, of course I was inspired to have my own and came up with this piece right here. Here’s another shot, showing the color contrast a little better. Anyways, I want to show ya’ll a visual story, taking you through the journey you can expect to go through if you choose to take on a project like this one. BEFORE THE NEW LOOK: So, it all starts with this bike right here, a 2013 Giant Escape RX1 Hybrid bike. As-is, it was a good working, good looking bike in great condition. I know some would ask, “why would you even think to do that to a bike with no problems, what so ever?” But it was just the perfect project bike for me to use. Oh and by the way, if you’re thinking of doing something like this to your own bike, I’m pretty sure your manufacture’s warranty, if it has one, is out the door. So, Just know that before you decide to move forward on face-lifting your bike. Oh, and another thing, this project took a lot of time. I think I spent a couple months of my free time on my days off from the shop and even worked on it a few days at the shop after business hours. THE WORK BEGINS: Before I can start removing the paint from the frame, I gotta take everything apart and strip everything down to the bare frame. I decided to mirror polish the wheels too, so had to take these wheels apart, removing the tires, spokes, and hubs. Remove the handlebars, fork, headset, brakes, seat post, derailleurs, crank arms, bottom bracket, cables. Everything comes off. REMOVING THE PAINT: Here you see me stripping the paint using Rustoleum Aircraft Remover to chemically take off the paint. It made a big mess and wasn’t as simple as I thought. Be sure to use protective gloves and don’t get that stuff on your skin, cuz it’ll painfully burn ya. The part that took the most time was the sanding. The paint on the welded points were really difficult and took extra effort. I started with 320 grit, then moved on to 400, 800, 1000, 1200, 1500, and finally 2000. Finally after all that sanding, I was able to start polishing, using Mothers Mag & Aluminum Polish. And at this point, I found all my hard work was starting to payoff. WHEEL BUILD: For the wheels, I pretty much went through the same sanding and polishing process that I did on the frame, then rebuilt them and customizing them with red spoke nipples. As for tires, I decided to go with these WTB Thickslicks, cuz I pretty much like the style and look they give. The size of these Thickslicks are 700x28, but I ended up having to go with a narrower 700x25 in the front to clear my new carbon road fork. OUTRO: Thanks for watching. Feel free to comment and let me know what you think or if you have any questions about this mirror polished bike project. Click the like button and Subscribe to our channel if you like what you see and be sure to check out California Bike & Snowboard on Instagram and follow our Facebook page. PEACE! |





 RSS Feed